
Sunday, September 6, 2015
Monday, February 10, 2014
Color Robots - Kindergarten Collage of Shapes

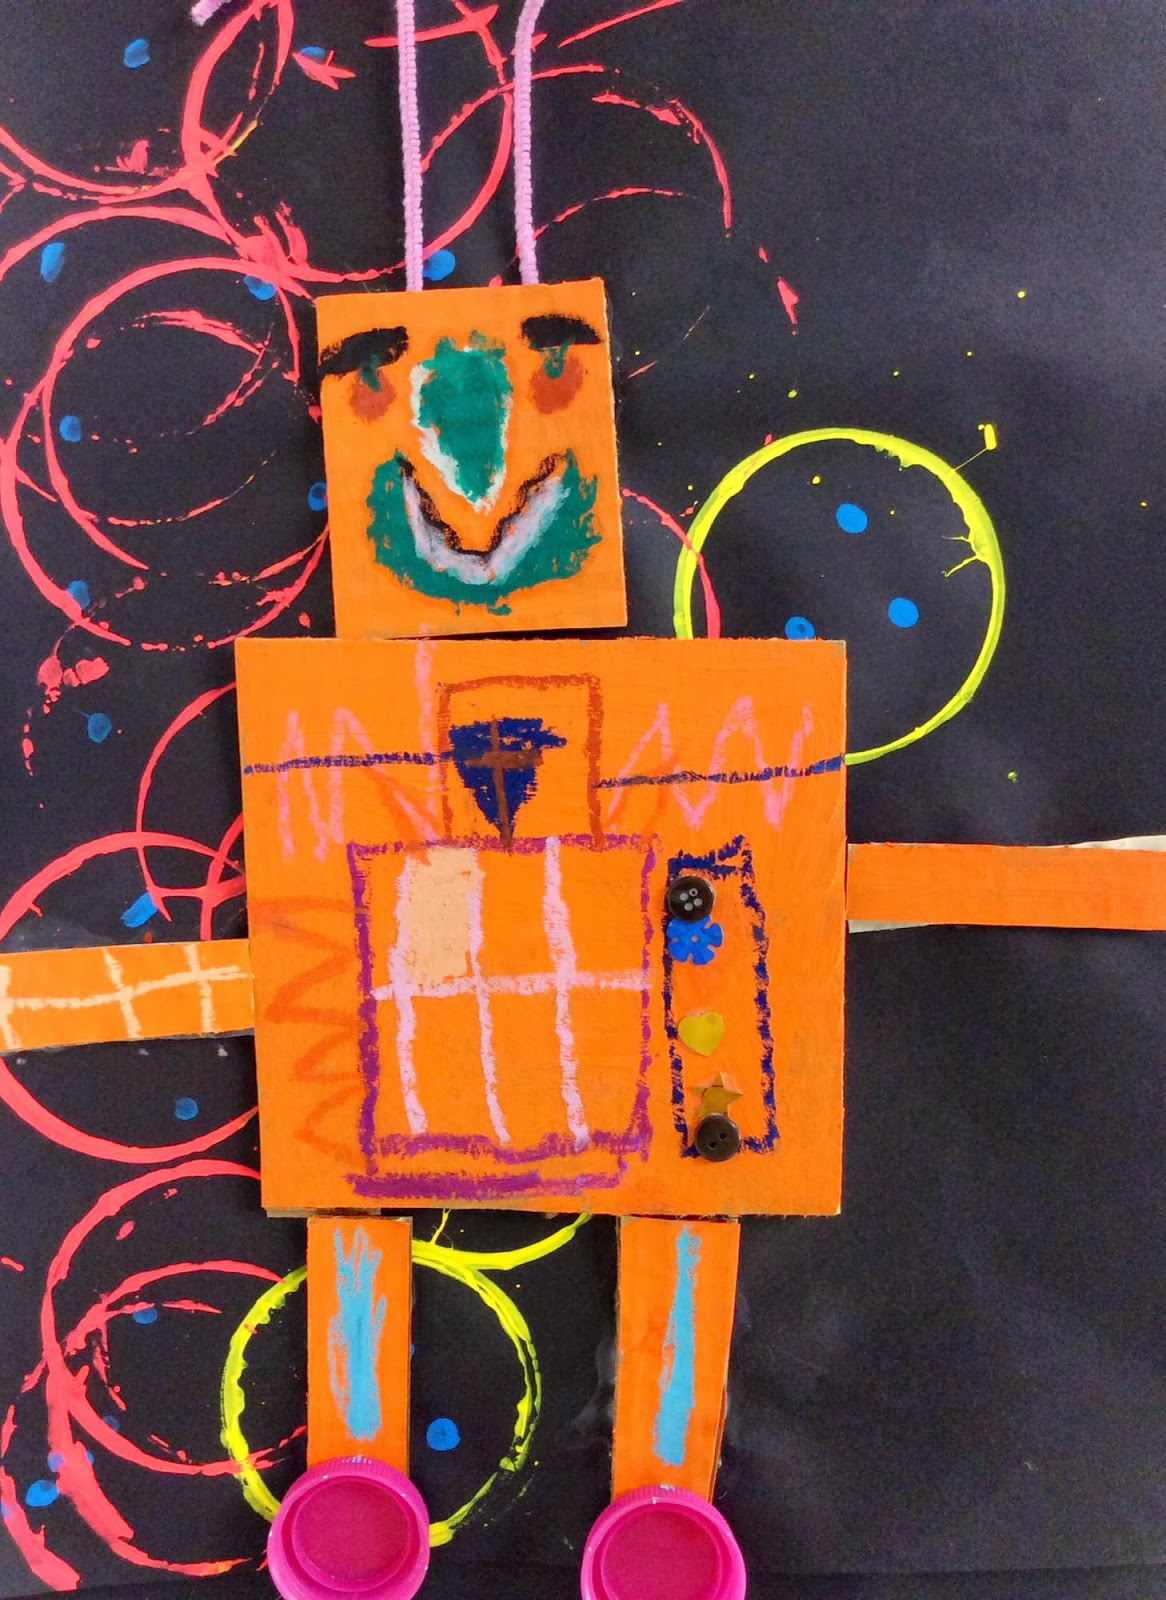
We started our project by using stamping different sized circles and dots to create a fun background. Students learned that you can paint with more things than a paintbrush. Plastic cups, paper cups, and cotton swabs can be fun painting tools.

Then students identified the shapes they could use in their robots as they painted them with a solid color.


The next class it was time to put our robots together! Students glued their shapes in place, added details and embellishments with oil pastels, pipe cleaners, sequins, and plastic caps. Oh What Fun!!


Monday, January 27, 2014
Tints and Shades With a Cherry On Top
4th Graders create a delicious project while learning about tints and shades.
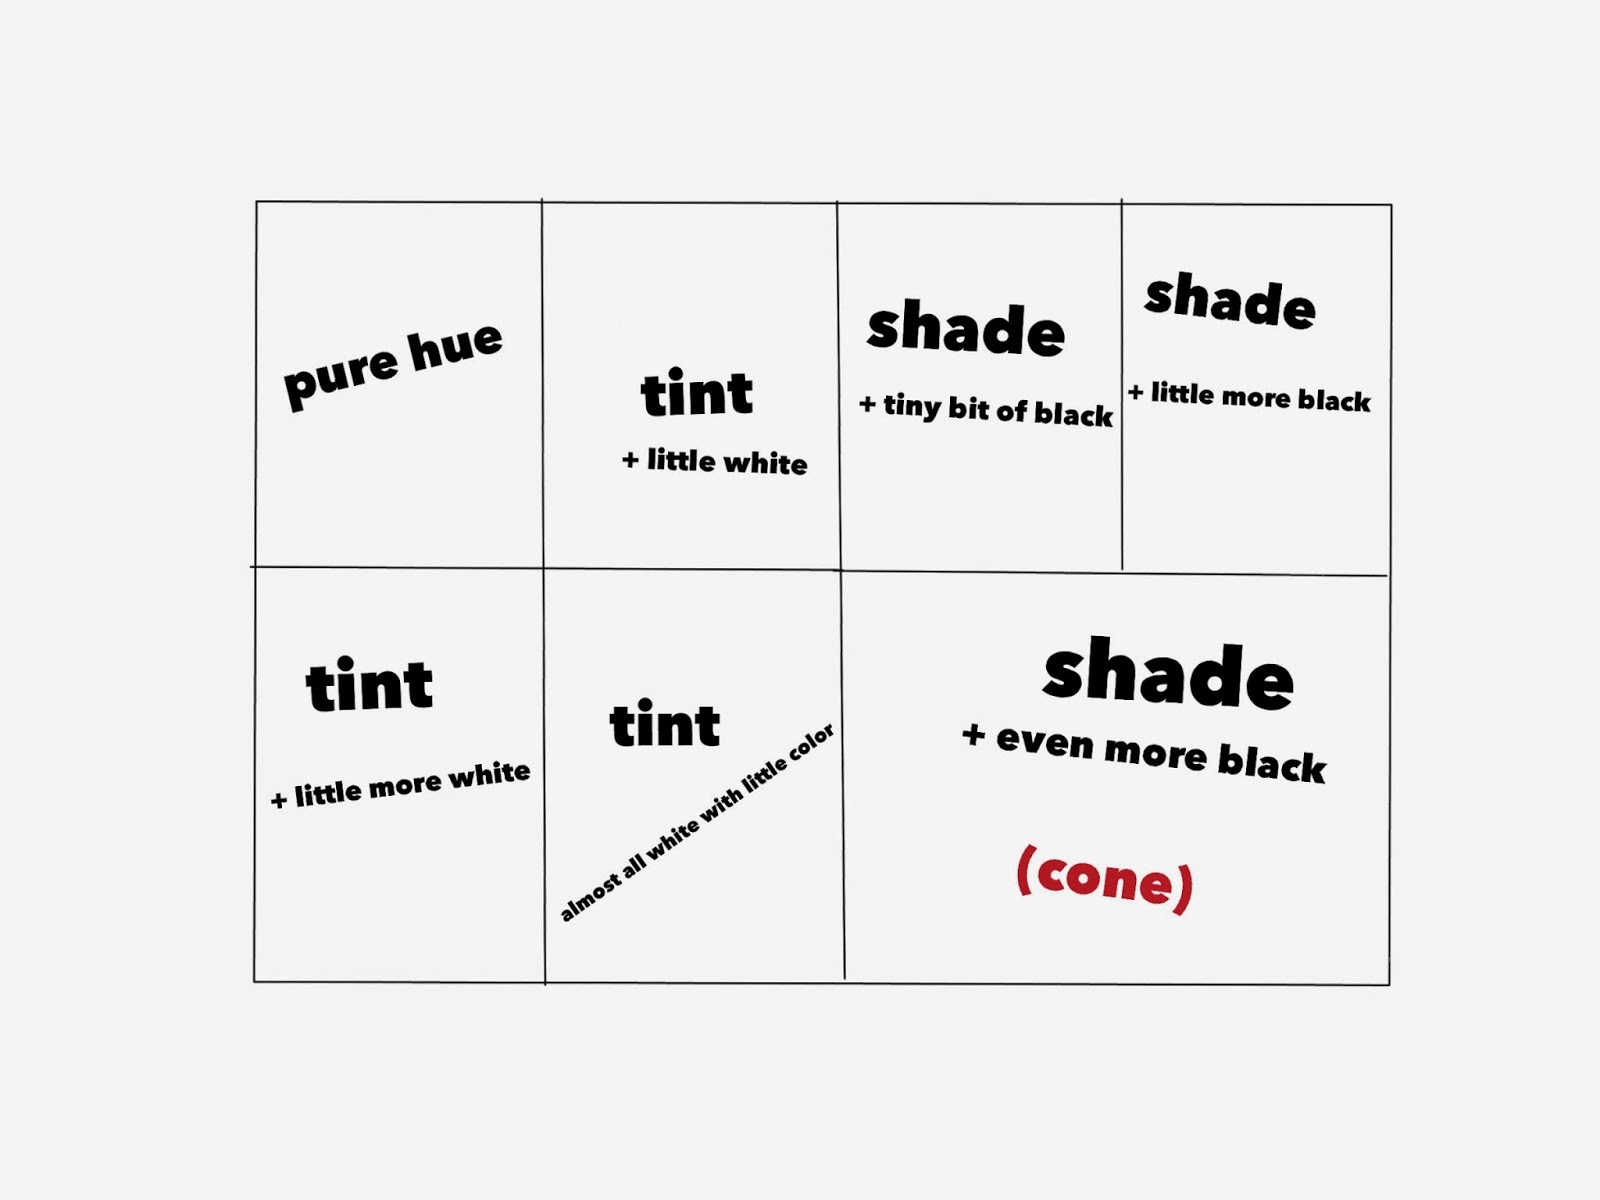
Students discussed how to change a color's value - to make it lighter and darker. As we discussed what would happen if we added white or black to a color, I demonstrated by mixing the colors and painting on a 12x18 paper that was divided up into 7 sections.
Students then chose their color and paired up to share paint. They were given their color + black & white. We divided up the paper and students made little notes on each section if they thought they would need the refresher of what colors they were creating.
This was my guide that I hung up for them to see -


 See more of our finished ice cream cones on Artsonia -> Tints & Shades with Cherry on Top

 |
| Blue Raspberry Mint Chocolate Smurf |
Students then chose their color and paired up to share paint. They were given their color + black & white. We divided up the paper and students made little notes on each section if they thought they would need the refresher of what colors they were creating.
This was my guide that I hung up for them to see -
Students spent the next two classes putting together their ice cream cones. They first made a stencil for the scoop of ice cream from tagboard to make them all similar in size. We discussed how we liked them better constructed - dark to light or light to dark. Most decided they liked the look of dark to light because the lightest tint looked great next to the darkest shade of the cone. Some chose to go light to dark. They were able to add some sequin "sprinkles" and had to come up with a name for their flavor.
See more of our finished ice cream cones on Artsonia -> Tints & Shades with Cherry on Top Thursday, January 16, 2014
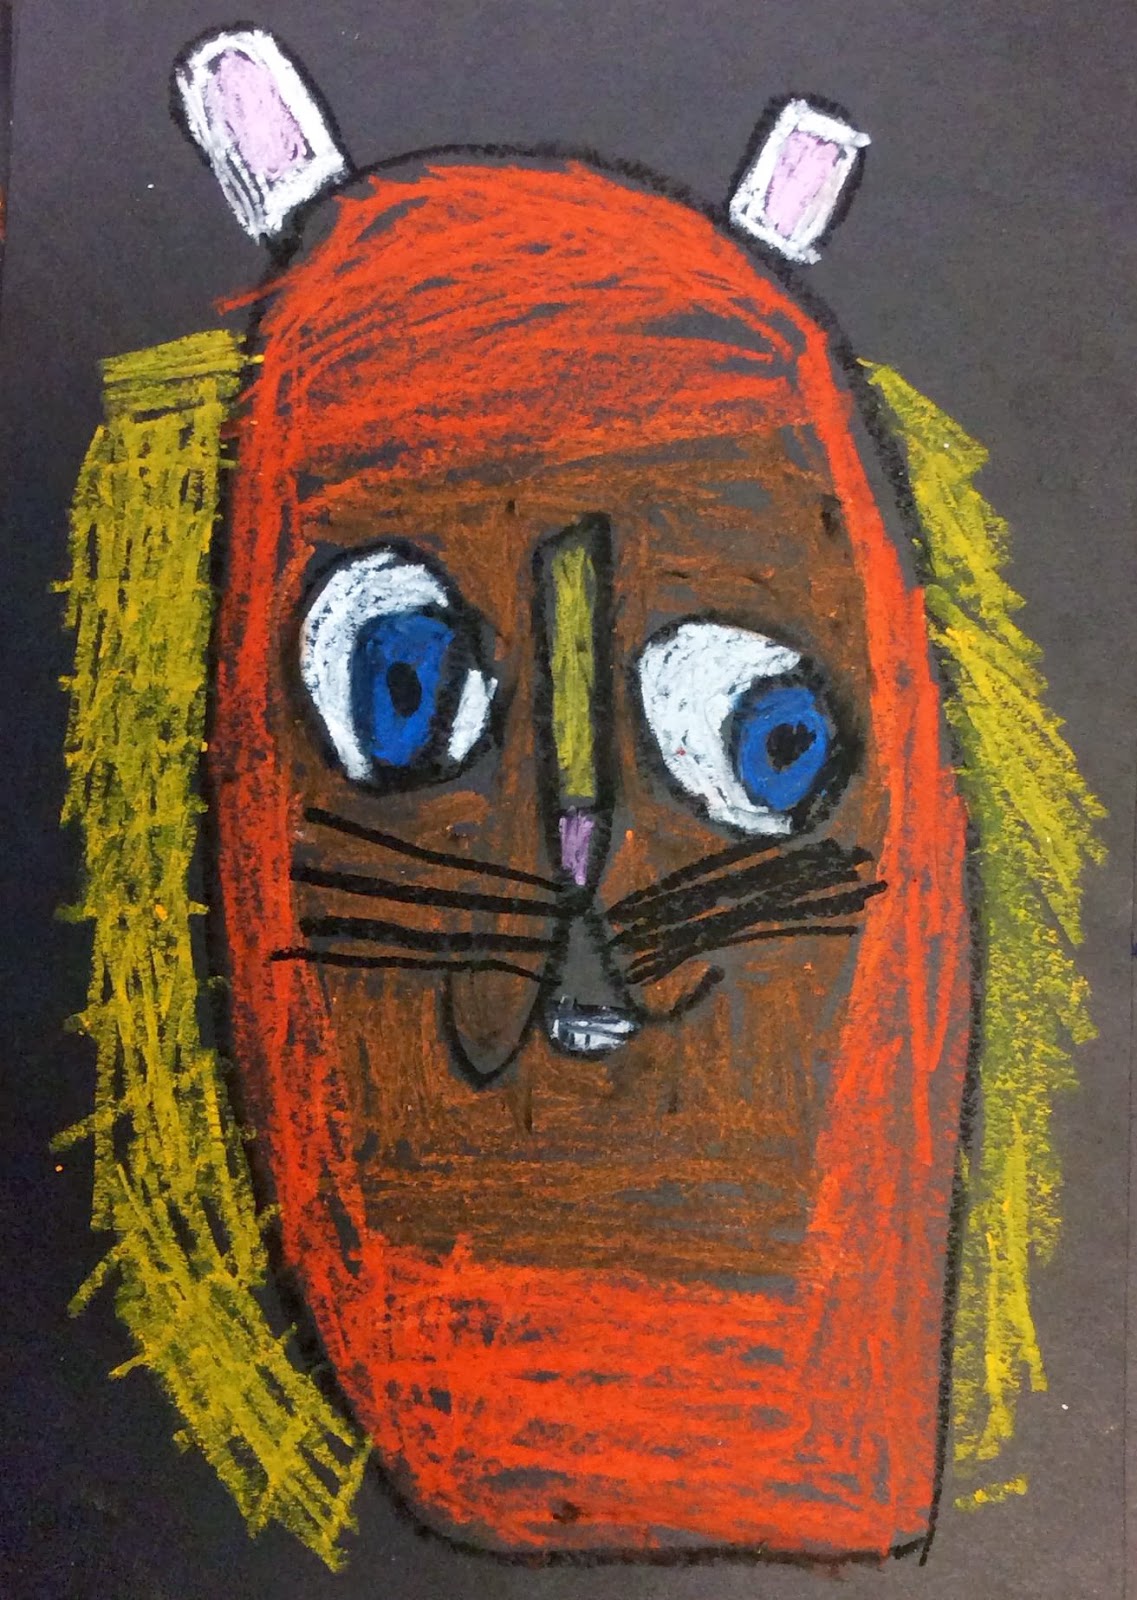
What Would Make You Roar? 1st Grade Oil Pastel Lions Talk
Oil Pastels, Music, and iPads make for a very fun art project!

This project was inspired by Susan Tiedemann from Brunswick Acres School in New Jersey. Thanks for your inspiration!
1st grade students were learning about the difference between geometric and organic shapes. We discussed where on a lion's face could we use both types of shapes then student began to draw their lions with oil pastels.
We even enjoyed listening to Katy Perry's "Roar" while we worked. That made it even better!
When our lions were finished we were not quite done. We talked about what would make us roar. Would we roar when we were feeing happy, sad, mad, silly?
Using the iPad app Morfo students were able to bring their lions to life.
I combined each child's lion into a class video using the iMovie app. Here's the finished work -
Wednesday, January 15, 2014
Creative Faces - A Great Sub Lesson
Jump start your students' creativity with this fun lesson.
Even this control freak of an art teacher was able to feel confident leaving this one for a sub lesson!

My favorite construction paper to use with my Elementary students is Pacon's Tru-Ray paper. It's a fade-resistant paper that's great for all kinds of projects. For years I've unwrapped the plastic from the bundles of paper, tossed the plastic in the garbage, but couldn't toss the cover sheet that comes with each pack.

I left this lesson for a couple classes when I had a professional leave day.
The lesson's a simple one! What could this face be instead of a sun face?
Students cut out the face and glued it somewhere on a white paper and then went at it with crayons. Their creative problem solving brought a smile to my face when I went through the work the students did while I was away. It kind of made me jealous I wasn't there to see them work on the project. I can imagine what their conversations were as they figured out what they were doing with that smiling face.
These are a couple of my favorites -


You can see more on our Artsonia Gallery.
So...Stop throwing those sun faces away today!!
Tuesday, January 7, 2014
Favorite Projects of 2nd Quarter - Part 2: Holiday Inspired Projects
December Projects Inspired by the Holiday Season
I generally just continue with my normal lessons during the month of December, however I do love all the excitement the kids have for the holidays. So if we finish with projects the first of December, I will connect the concepts we have been learning about, or will continue to explore in the new year, with something holiday themed.
These are a few of my favorites this year:
 |
| Abstract Trees |
 |
| Poinsettia Painting |
 |
| Santas in Pajamas |
These are a few of my favorites this year:
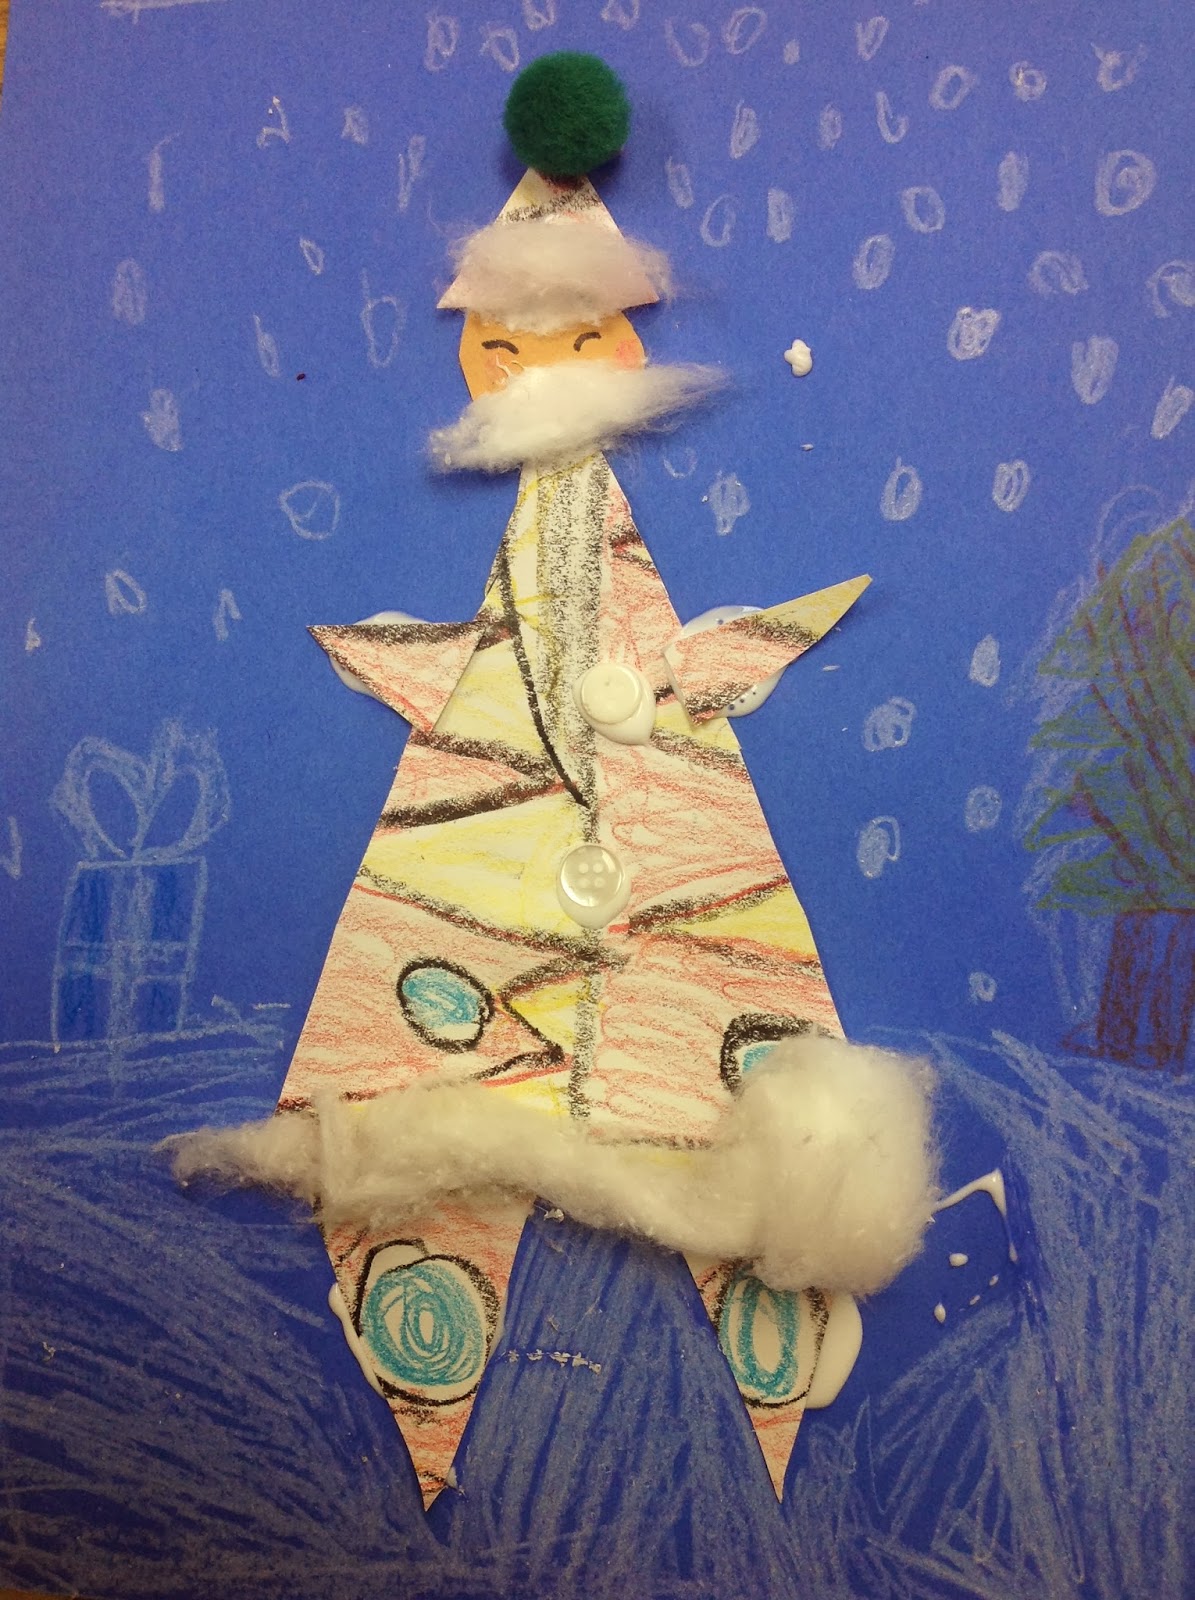
Santas in Pajamas - (1st-3rd grade ELL class)
This was actually a formative assessment. I needed to know where their knowledge was on shape and pattern so that I would know where to focus the learning after break.
We quickly reviewed what a pattern was and students colored a paper with whatever pattern or patterns they could come up with.

They then cut the patterned paper into a large triangle and five smaller triangles to create Santa's clothes and a circle for his face. I asked these students if these shapes were geometric or organic shapes as they worked on this. Students added some facial features, cotton balls, buttons, and anything else they wanted to complete their Santas.
They did look at me strangely when I started singing "Santas in Pajamas are dancing round the tree..." in the tune of Bananas in Pajamas.


Poinsettia Painting - (5th Grade)
5th grade students had been working on color theory. One of our objectives for this grade level is for them to understand what complementary colors are and use them in a work of art. The poinsettia sponge painting is perfect project for this. After discussing complementary colors we used sponges and red paint to create the flowers. The sponges were cut into a petal shape.
*In one of my buildings my bag of precut sponges disappeared and I was forced to sacrifice some sponge friends - :( sorry giraffe and donkey!
Students added the complement of red (green) to the background of their flowers. They could put some green in the background, paint it all, paint leaves, it was up to them as long as they showed the complementary color pair. Some details were added to the center and they were done! This is an easy and fun one day project. The results are beautiful and the students understand the contrast that complementary colors present.
If time allows, I usually follow this art class with one where they can experiment with the other complementary color pairs. What happens when the two colors are mixed? Create a mini painting using another two complementary color pairs.
See more of these in one of our Artsonia Galleries!
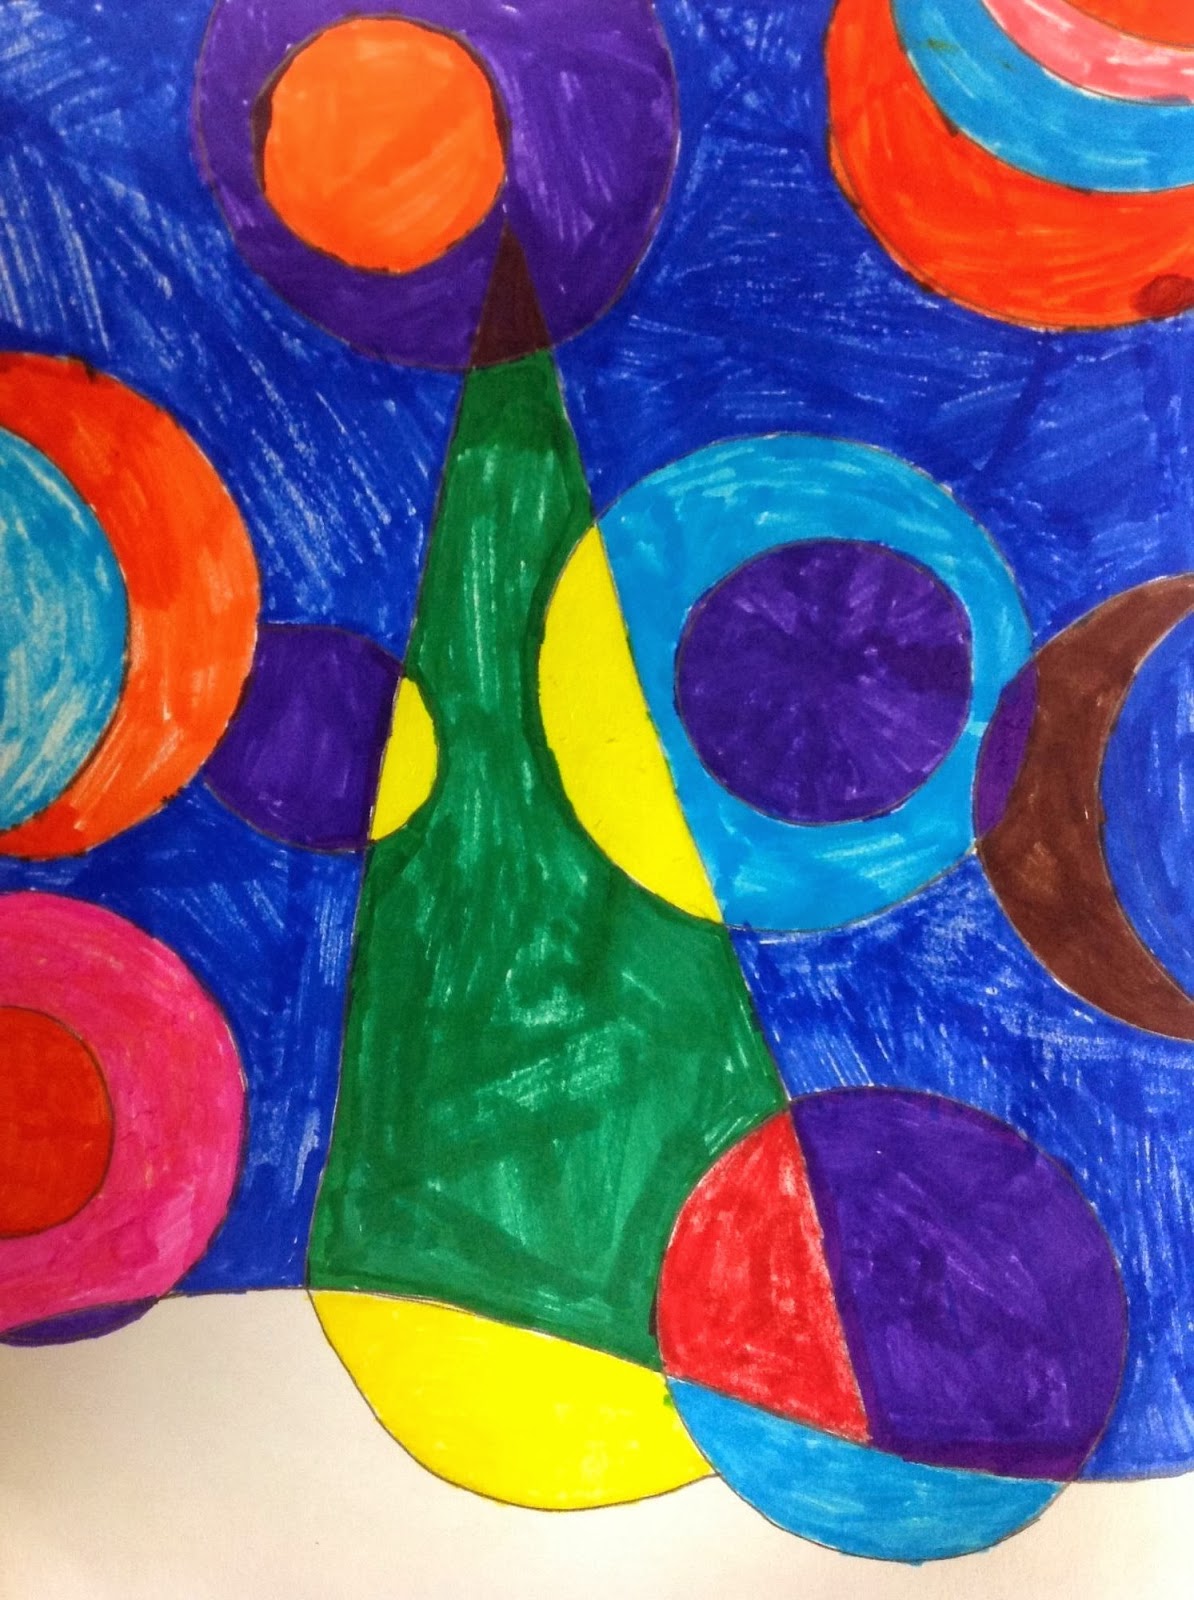
Abstract Trees with Geometric Shapes - (3rd and 4th Grade)
This project followed our color lesson so we were able to extend our color discussions to talk about contrast. We looked at the color wheel and identified colors that would stand out when put close to each other. We also discussed the difference between Abstract and Realistic Art and Geometric shape when drawing out our picture.
Students were thrilled to learn they would be using markers to color in these designs. I guess I don't use them very often in our lessons.
These took a couple art times to finish and students really enjoyed working on them.
See more of our Abstract Trees in our Artsonia Gallery!
Thursday, January 2, 2014
Favorite Projects of 2nd Quarter - Part 1: Abstract Trees
5th Grade Abstract Tree with Monochromatic Sky


5th Grade students and I discussed the definition monochromatic. We broke this vocabulary word apart to see if they could figure out what the word meant. I questioned what prefix was contained in the word and many students were able to identify "mono". Most of my classes had at least a student or two that knew that "mono" meant one or single. Then we looked at the second part of the word, "chroma" which students didn't know at all. We looked up the definition using Google. I took this opportunity to show students a better way to search a definition on Google.
We typed in "definition: chroma" into the omnibox and up popped the following:

So I then asked what they thought "monochromatic" might mean. Students responded with "one color?' Yay!! Now I know, why not just have them search for "monochromatic" in Google? Because...I love to engage students in thinking as much as I love them to engage in technology. Breaking apart words makes them think! I'm betting these students will have no problem figuring out what a monoprint is later in the year.
Ok...back to the project.
Students chose a color (primary or secondary) and practiced making tints and shades while painting a monochromatic sky. When they got to the ground they were able to chose any color they wished to paint it. Some students created a tint or shade when painting the ground.
The next class we talked a bit about Abstract and Contemporary Art. I showed them some Abstract tree paintings from some contemporary artists. They painted their trees using black or black mixed with brown. Some students created more realistic looking trees while others created more swirly branches.

The last class students used oil pastels to add circles or swirls or both to their paintings. They controlled what colors they were using. We did discuss how lighter colors might look better on the shade part of the painting and darker colors would look good on the tinted areas of the painting.


The students did a beautiful job on these! You can see more here in Roosevelt's Artsonia Gallery.

Subscribe to:
Posts (Atom)