Showing posts with label 1st Grade. Show all posts

Thursday, January 16, 2014

What Would Make You Roar? 1st Grade Oil Pastel Lions Talk

Oil Pastels, Music, and iPads make for a very fun art project!

This project was inspired by Susan Tiedemann from Brunswick Acres School in New Jersey.  Thanks for your inspiration!

1st grade students were learning about the difference between geometric and organic shapes. We discussed where on a lion's face could we use both types of shapes then student began to draw their lions with oil pastels.

We even enjoyed listening to Katy Perry's "Roar" while we worked. That made it even better!

When our lions were finished we were not quite done. We talked about what would make us roar. Would we roar when we were feeing happy, sad, mad, silly?

Using the iPad app Morfo students were able to bring their lions to life.


I combined each child's lion into a class video using the iMovie app. Here's the finished work -


Tuesday, January 7, 2014

Favorite Projects of 2nd Quarter - Part 2: Holiday Inspired Projects

December Projects Inspired by the Holiday Season
Abstract Trees
Poinsettia Painting

Santas in Pajamas
I generally just continue with my normal lessons during the month of December, however I do love all the excitement the kids have for the holidays. So if we finish with projects the first of December, I will connect the concepts we have been learning about, or will continue to explore in the new year, with something holiday themed.

These are a few of my favorites this year:

Santas in Pajamas - (1st-3rd grade ELL class)
This was actually a formative assessment. I needed to know where their knowledge was on shape and pattern so that I would know where to focus the learning after break. 
We quickly reviewed what a pattern was and students colored a paper with whatever pattern or patterns they could come up with.

They then cut the patterned paper into a large triangle and five smaller triangles to create Santa's clothes and a circle for his face. I asked these students if these shapes were geometric or organic shapes as they worked on this. Students added some facial features, cotton balls, buttons, and anything else they wanted to complete their Santas. 
They did look at me strangely when I started singing "Santas in Pajamas are dancing round the tree..." in the tune of Bananas in Pajamas.


Poinsettia Painting - (5th Grade)
5th grade students had been working on color theory. One of our objectives for this grade level is for them to understand what complementary colors are and use them in a work of art. The poinsettia sponge painting is perfect project for this. After discussing complementary colors we used sponges and red paint to create the flowers. The sponges were cut into a petal shape.
*In one of my buildings my bag of precut sponges disappeared and I was forced to sacrifice some sponge friends - :( sorry giraffe and donkey!
Students added the complement of red (green) to the background of their flowers. They could put some green in the background, paint it all, paint leaves, it was up to them as long as they showed the complementary color pair. Some details were added to the center and they were done! This is an easy and fun one day project. The results are beautiful and the students understand the contrast that complementary colors present. 


If time allows, I usually follow this art class with one where they can experiment with the other complementary color pairs. What happens when the two colors are mixed? Create a mini painting using another two complementary color pairs.
See more of these in one of our Artsonia Galleries!


Abstract Trees with Geometric Shapes - (3rd and 4th Grade)
This project followed our color lesson so we were able to extend our color discussions to talk about contrast. We looked at the color wheel and identified colors that would stand out when put close to each other. We also discussed the difference between Abstract and Realistic Art and Geometric shape when drawing out our picture.
Students were thrilled to learn they would be using markers to color in these designs. I guess I don't use them very often in our lessons. 
These took a couple art times to finish and students really enjoyed working on them. 


 See more of our Abstract Trees in our Artsonia Gallery!


Friday, October 18, 2013

An Oldie but Goodie - What If Picasso Made Witches?

This project has been around quite a while, but it's a good one. 
I used it as an introduction to the abstract artwork of Pablo Picasso for my 3rd grade students.
We talked a bit about color choices when they picked the colors for the face. Looking at the color wheel we discussed what colors would be contrasting and stand out next to each other and which ones might blend more together. Ultimately, they could chose any two colors they wanted!

We also discussed what a profile was and how it differed from seeing a face from the front view. 

Students had a lot of fun creating their witch or monster. We started by cutting out a face shape from the two colors they chose for the face stacked together. Then they drew a profile on one of the pieces, cut it out, and glued it to the full face shape. 
I gave them examples and tips for cutting certain shapes like the mouth but gave them lots of room for creative choices. 

For some reason they kept questioning me on what they could or couldn't do with this project. "Can I make it have elf ears?" "Can mine have a mustache?" "Can I do a different kind of hat?" "Can she have a booger?" My answer - "You are the artist. You make the decisions!" I use this answer quite a bit. It usually brings a smile to their face.


I'm always a bit cautious of doing this project. I don't want to those students who might not be able to do Halloween themed things because of religious beliefs to feel uncomfortable. If I know ahead of time there are students who might not be able to do witches I modify it to monsters or let chose what they might do using the same skills.

Like this project but too late for Halloween...you could a similar project before Christmas and do What If Picasso made Elves?


How do you handle projects that might be off limits to certain students because of religious beliefs?


Friday, October 12, 2012

Hands Up for Creativity! A handy way to review line quality

I'm about to enter the last week of the first quarter and just now getting around to blogging about one of my first projects of the year! Keeping up with 3 schools can be a bit hectic...but lots of creative fun is happening in my Art Rooms and I get at least one hug a day thanking me for it.

This year I decided to start the year by doing one line project with all my 1st graders and 2nd graders and another project with all of my 3rd - 5th graders instead of my usual different project for each grade. Of course my 3 classes of 2nd/3rd grade splits through a monkey wrench in that...so some 3rd grade students did the younger one.  My goal was to introduce, discuss, or review (depending on the level) line quality to all my students, while keeping the craziness of the first couple weeks of school to a minimum. There always seems to be schedule changes, students moving from one class to another, or waiting on numbers to settle before possibly getting another teacher, splitting a class, or even unsplitting a split class these first couple of weeks. So I thought less planning and prep would come in handy...and it did!

I called the 1st/2nd grade project "Hands Up". I got the idea from a Pinterest post and adapted it to fit what I wanted. After discussing Line as an Element of Art, students traced their hands and arms. We drew as many different kinds of lines as we could think of on the Smartboard (or under my document camera in one of my rooms). Students used crayons to design their hands/arms with lots of lines and colors. I insisted they use white at least once.

The next class we talked about the crayon-resist method. Students had fun painting watercolors over the crayon. When dry they carefully cut the hand and arm out.

At each of my buildings I displayed all of these creative hands together radiating out from a bright orange and yellow spot. The display was quite striking all together!


Wednesday, April 25, 2012

1st Grade Fields of Poppies

This lesson was inspired by wonderful art teacher Susan Tiedemann from South Brunswick, NJ. Take a look her 2nd graders working on their poppies!

First graders really were able to understand the concepts of background, middle ground, and foreground along with how to use size to make things look farther away and close up.

We started this lesson by working on the Smartboard. I used Notebook software to create a green field and poppies in a variety of sizes - tiny, small, medium, and large. Each student got to come up and pick a poppy and move it to a spot on the field that made sense to them. We worked as a group to decide if the poppy was put in an appropriate place. The students love interacting with the Smartboard.


After working on the Smartboard students painted green lines for our field on a 18x24 paper. The large size and big brushes excited them! We let these dry until next class.
Next class we reviewed background, middle ground, and foreground along with how size makes things look near and far. They worked on painting small, medium, and large poppies in their field. Once the poppies were painted they were able to dab tiny white and yellow flowers using a qtip.


To finish off our paintings students added some lines in the center of the flowers and some more green field lines using oil pastels.


See more of our field of poppies on Artsonia - Roosevelt  & Washington


Tuesday, March 13, 2012

Patterns are Dragon On!

Kindergarten and First Grade Pattern Review

This is a quick project that I do every few years. After working with Kindergarten and First grade students on patterns, it's a fun review and practice.
Draw out a very large dragon on bulletin paper.
Cut up paper plates into 4 sections. Give each student a section and have them use markers or crayons to create a pattern on the paper plate section. These will become the scales of the dragon. As students finish hot glue (fastest and easiest way) the sections overlapping.

I do this with both my Kindergarten and First grade classes so that there are enough "scales" to fill the dragon.


Now most years when I do this I plan for it to fall in February. This year was no different. I do this for two reasons. The first is then I could tie in with Chinese New Year celebrations. The second I have a cutesy saying that I like to put with the dragon - "Winter's DRAGON ON - Hurry Up Spring!"
However, our unusually mild Mid-West winter this year forced me to not put up that saying - it simply didn't apply this year!

Friday, December 23, 2011

1st Grade Clay Turtles with Habitats


1st grade students created a pinch pot clay turtle one art class. The next class - while the clay was drying and being fired- we discussed environments and habitats and drew a habitat for the turtle to be displayed on. The third class was spent glazing.

The habitats were done just using crayon or oil pastel.


One of my classes didn't have time to do the habitats because of missing a class. We may draw them before students take the turtles home.
This was a simple clay lesson to introduce these young artists to techniques to attach pieces of clay together and introduce the glazing process.

Wednesday, October 19, 2011

Inspiration from Pinterest - Spider Collage

I think that one of the greatest part of being an art teacher during this point in time is the availability of collaboration with other art educators from around the world. On a daily basis I connect with a great number of very talented people using Twitter, Facebook, Art Ed 2.0, Google +, and other social networks. We bounce ideas off of each other, solve problems, share lesson ideas, collaborate on projects together and just inspire each other to be the best teachers we can be.
My new favorite place to be inspired by is Pinterest.com. If you have not looked into this site you need to now - but be warned it can be addictive! Pinterest allows you to pin things you see online onto boards that you can organize. I've developed quite a wide range of boards and I pin usually at least a little every day. It's a great way to gather and share ideas and organize them into sections.
I've pinned so many great art project ideas already this school year. I've just completed a couple projects with my student inspired by ones I've seen on Pinterest.
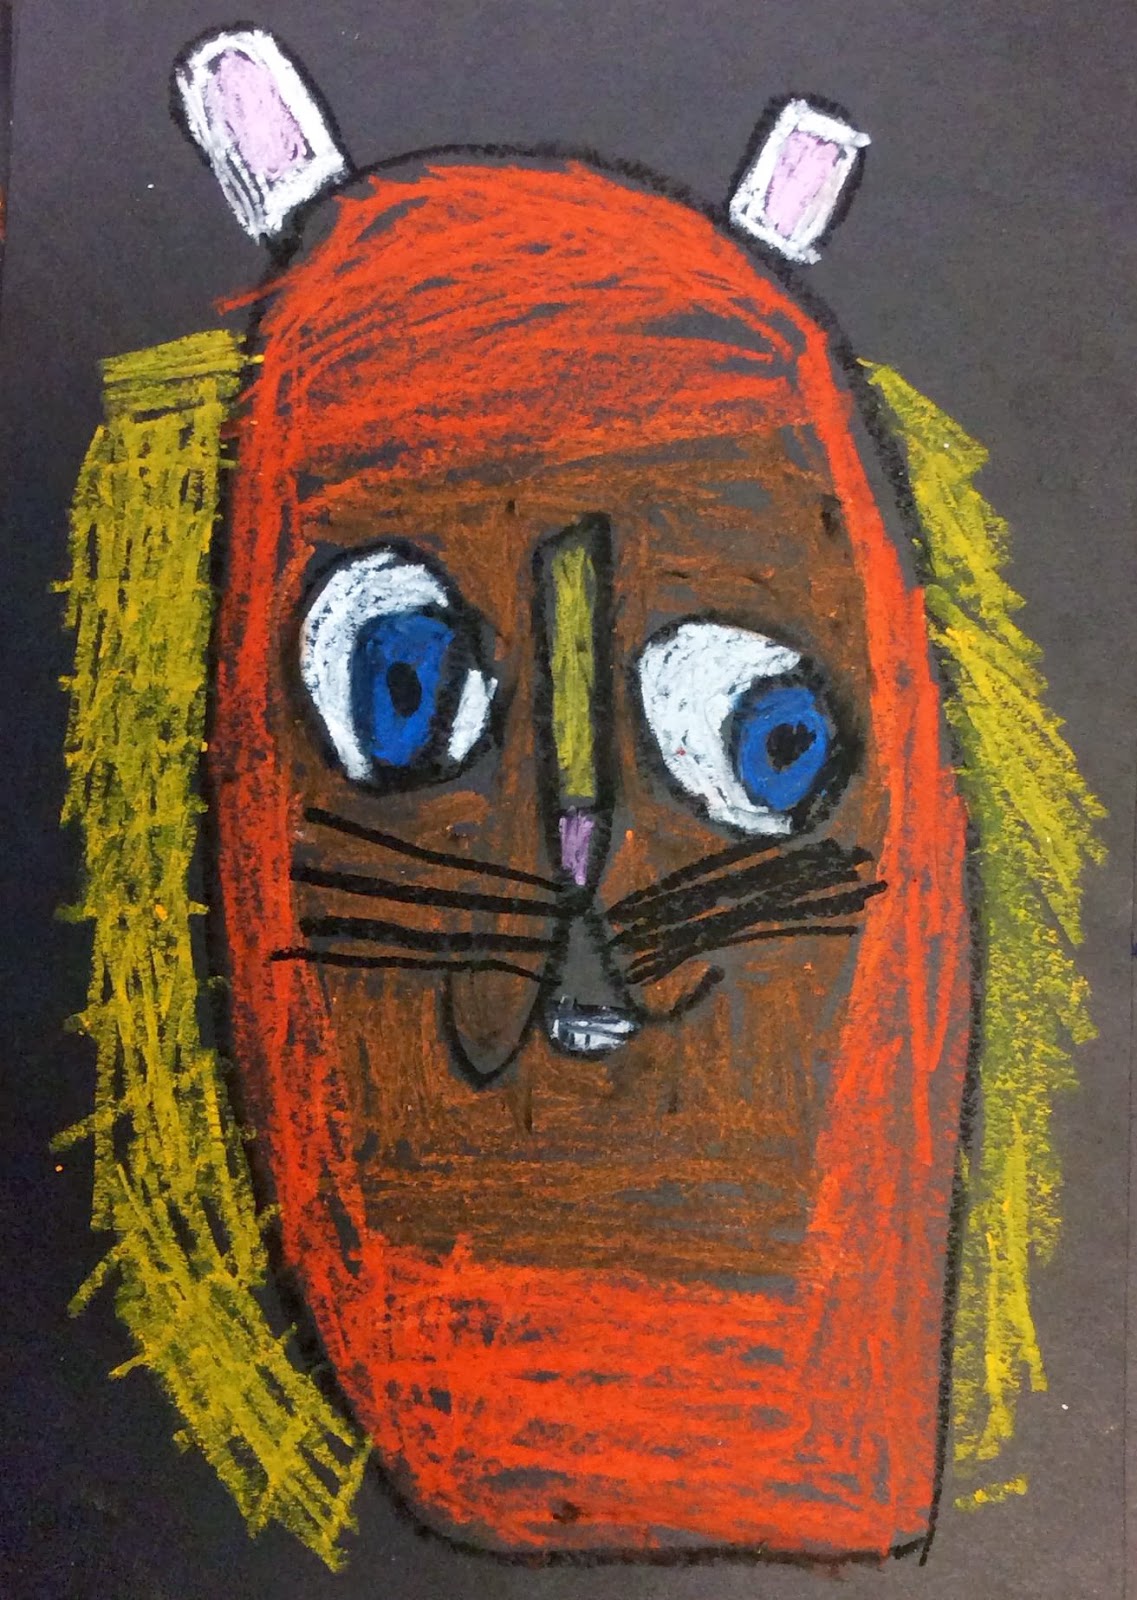
Spider Collage
I usually do an Eric Carle lesson with my first graders. In the past this has been a caterpillar collage inspired by the Hungry Caterpillar. This year I saw some great spider collages using painted papers on Pinterest. I incorporated the art of Eric Carle, using different painting techniques, collage techniques, and how primary colors mix to create secondary colors.
After introducing them to Eric Carle through his books and a great movie - Picture Writer, we were ready to begin to paint our papers. The painting was done in one class period. I prepped the room with three stations since I wanted students to have three different colored papers to use on their spiders.

Here's a view of one of my art rooms before the students came into class.

At one station sponges were used by the students to create a violet paper.

A green paper was painted and the end of the paint brush was used to scratch lines into the paint.

Students used cardboard or rubber painting tools to scrap textures into the orange paint.

The next class students began to put together their spider collage.

This project combined a lot of different concepts and skills and was enjoyed by the students.


Monday, September 12, 2011

Painting Lines with Cardboard

First graders have a blast using cardboard to create lines and designs!

This project was inspired by a project I came across on my latest addiction - Pinterest. If you have yet to join Pinterest you might want to check it out. But BEWARE - it is extremely addicting.

You can find the lesson that inspired me here.

After discussing different types of lines used in art, the students were given a large 12x18 paper, trays of black tempera, and a box of various cardboard pieces.
I use flat boxes to hold the cardboard pieces in the middle of the table.


After a quick demonstration of how to dip the cardboard in the paint and "print" it on the paper the students were let free to create. I did give them some ideas and encouragement to try and come up with a design or image of something instead of just stamping everywhere on the paper.

I showed how to create curves using strips of tagboard that they could curve to get something different than a straight line.


The students had a blast creating. I did have a handful of students among my first grade classes that scraped across the paper with the cardboard or stamped so much that no lines were left showing - just black blobs, but most had very successful images.


Students found that when using the cardboard tube a bubble often formed and sometimes would pop on their paper. Of course that was fun for them and they didn't seem to mind the splat of paint it left behind. Happy mistakes!


I love the creativity of first graders! Not sure what this little guy was creating but it sure is interesting!


The next class I gave students back their papers and showed them how to use oil pastels. For many of them it was their first experience with this art medium. Their enthusiasm continued as they colored in and around their stamped black lines!